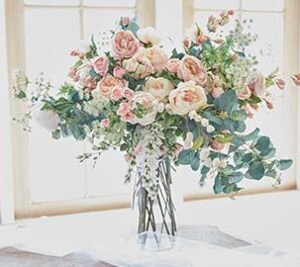
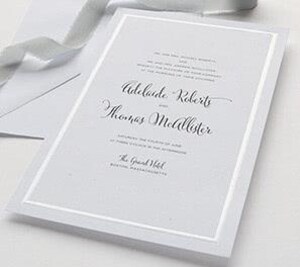
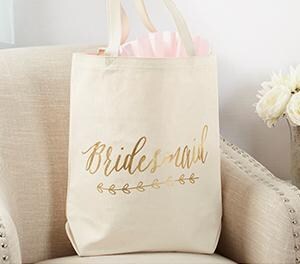
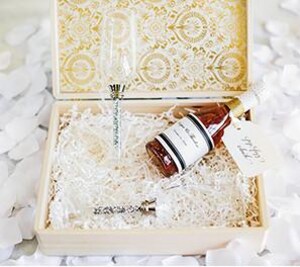
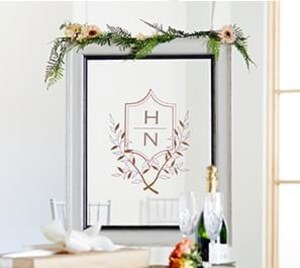
Beginner
You're new to the skills necessary to complete this project, or maybe you've tried them just once or twice before.
metallic washi tape vase
Fancy up a simple glass vase with your favorite styles of washi tape.
Step 1 |
Cylinder Vase Step 1 Choose the washi tape patterns you want to use for the vase. Step 2 Beginning at the top of the cylinder vase, adhere the tape and lay it on the vase diagonally, turning the vase as you go. Step 3 Repeat for additional diagonal stripes Step 4 Trim the tape flush along the top lip of the vase, using the X-ACTO® knife. |
Step 2 |
Cube Vase Step 1 Choose the washi tape patterns you want to use for the vase. Step 2 Beginning at either the top of the bottom of the vase, adhere the tape and lay it on the vase horizontally. Turn the vase as you apply the tape. Step 3 Repeat for additional stripes. Step 4 Trim the tape flush where the ends meet, using the X-ACTO® knife. |
Step 3 |
Share your project photos with #MadeWithMichaels |
Supplies
Materials
Materials
https://www.michaelsweddings.com/metallic-washi-tape-vase/B_80178.html
https://www.michaelsweddings.com/ashland-cube-glass-vase/10310264.html
You’ll Also Need
- Scissors
- X-ACTO® (or Craft) Knife
- Scissors
- X-ACTO® (or Craft) Knife
- Recollections™ Washi Crafting Tape Tube – Metallics (sku 10464891)
Instructions
Step 1 |
Cylinder Vase Step 1 Choose the washi tape patterns you want to use for the vase. Step 2 Beginning at the top of the cylinder vase, adhere the tape and lay it on the vase diagonally, turning the vase as you go. Step 3 Repeat for additional diagonal stripes Step 4 Trim the tape flush along the top lip of the vase, using the X-ACTO® knife. |
Step 2 |
Cube Vase Step 1 Choose the washi tape patterns you want to use for the vase. Step 2 Beginning at either the top of the bottom of the vase, adhere the tape and lay it on the vase horizontally. Turn the vase as you apply the tape. Step 3 Repeat for additional stripes. Step 4 Trim the tape flush where the ends meet, using the X-ACTO® knife. |
Step 3 |
Share your project photos with #MadeWithMichaels |